Main DIY (EN)
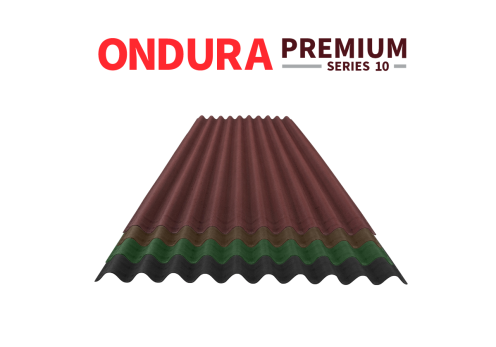
10 corrugation asphalt infused roofing panel | Wave profile that will not rust or corrode | Interlocking guides
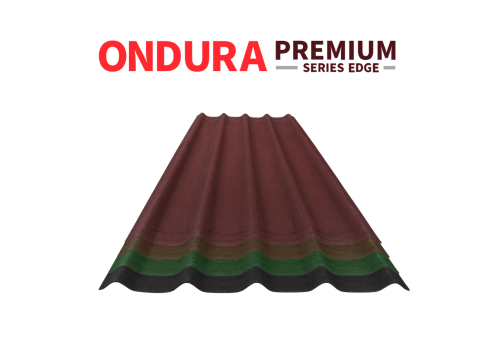
Asphalt infused roofing panels | Metal profile that will not rust or corrode | Interlocking guides |
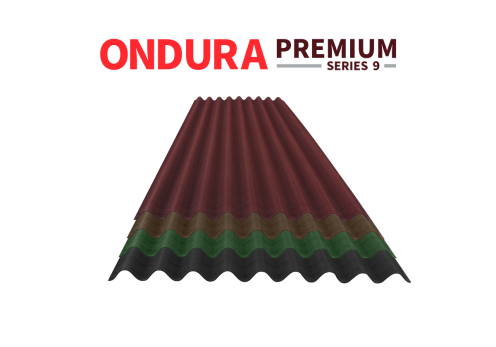
9 corrugation asphalt infused roofing panel | Wave profile that will not rust or corrode | Interlocking guides |
Half-sized 10 corrugation asphalt infused roofing panel | Wave profile that will not rust or corrode | Interlocking guides |
Take a look at the many different ways our product can be used!