Products
Tuftex
Ondura
Accessories
Resources
Downloads
FAQ
Where To Buy
Contact Us
Contact Us
Ondura Asphalt-Infused Roof Panels
Ondura Premium Series 9
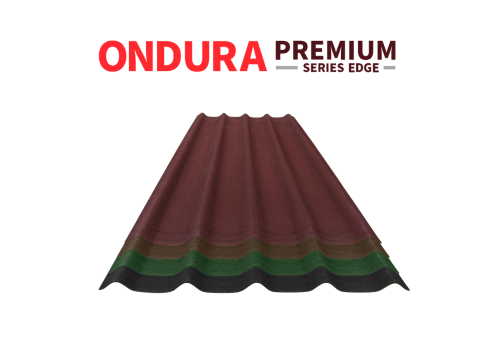
Ondura Premium Series Edge
Ondura Premium Series 10
Products
Tuftex
Ondura
Accessories
Resources
Downloads
FAQ
Where To Buy
Contact Us